If you’ve been around for a while, and possibly paying attention, you may have heard me express interest in learning to make hats. I don’t mean crocheting a beanie for the winter, but blocking a proper felt hat. I knew it was something that could be done, after all, all those hats that exist had to come from somewhere. Once I read on a blog that the writer took millinery classes in her neighborhood (San Francisco), I knew I had to find a class of my own! However, finding such a class turned out to be tricky. I was worried that such a thing only existed in San Fran. Like I had at one point with taxidermy, I resigned myself to learning via the internets. Luckily, also like taxidermy, I found a class locally! It cost a few bucks, but provided me with lots of skills and resources!! Also, a new, fancy, one-of-a-kind hat! Magic!
Once I signed up for the class, we were given a materials list. Some of the things I had, some of them I didn’t. However, I did receive a reassuring e-mail that we didn’t have to have everything, but it would be nice if we did have some things. Whew. Also in said e-mail were the color options we had for making said hats. I knew I wanted to make something different from anything I already had in my collection, so I requested magenta. I also requested a second felt (which I paid extra for, as it wasn’t included in the class fee, and that was fine), so if I had time I could get started on a second piece. I went with red. Not just red, but bright, bold, screaming red. At least, that was what I was hoping it would be based on the color swatch via my monitor.
The first day of my two-day class, I was nervous. It turns out that even a crafty, artsy, fun class brings out similar stress to the old days of school. I was worried everyone else would be cooler, that I wouldn’t know what to say to anyone, that I would be the worst hat-maker to ever exist. So, I put on my favorite skirt, a comfortable and witty tee, and hoped for the best. I walked into the class with my sewing kit and hairdryer as I was told. Everyone was already gathered ’round the table, looking like experts. Huh. However, it quickly became clear that I was in a room full of pretty cool people, and this was going to be a lot of fun.
We each grabbed our felts (I began with my magenta), and told the instructor what we were looking to create. In my case, I was picturing a cloche with a flipped brim at the front side. She matched us up with the appropriate blocks. For most hats, you need the crown, or top, a spacer to get the height you want for the hat, and a brim. So, I got a round crown, a decent sized spacer, and a basic cloche brim. Then, two bolts and an allen key.
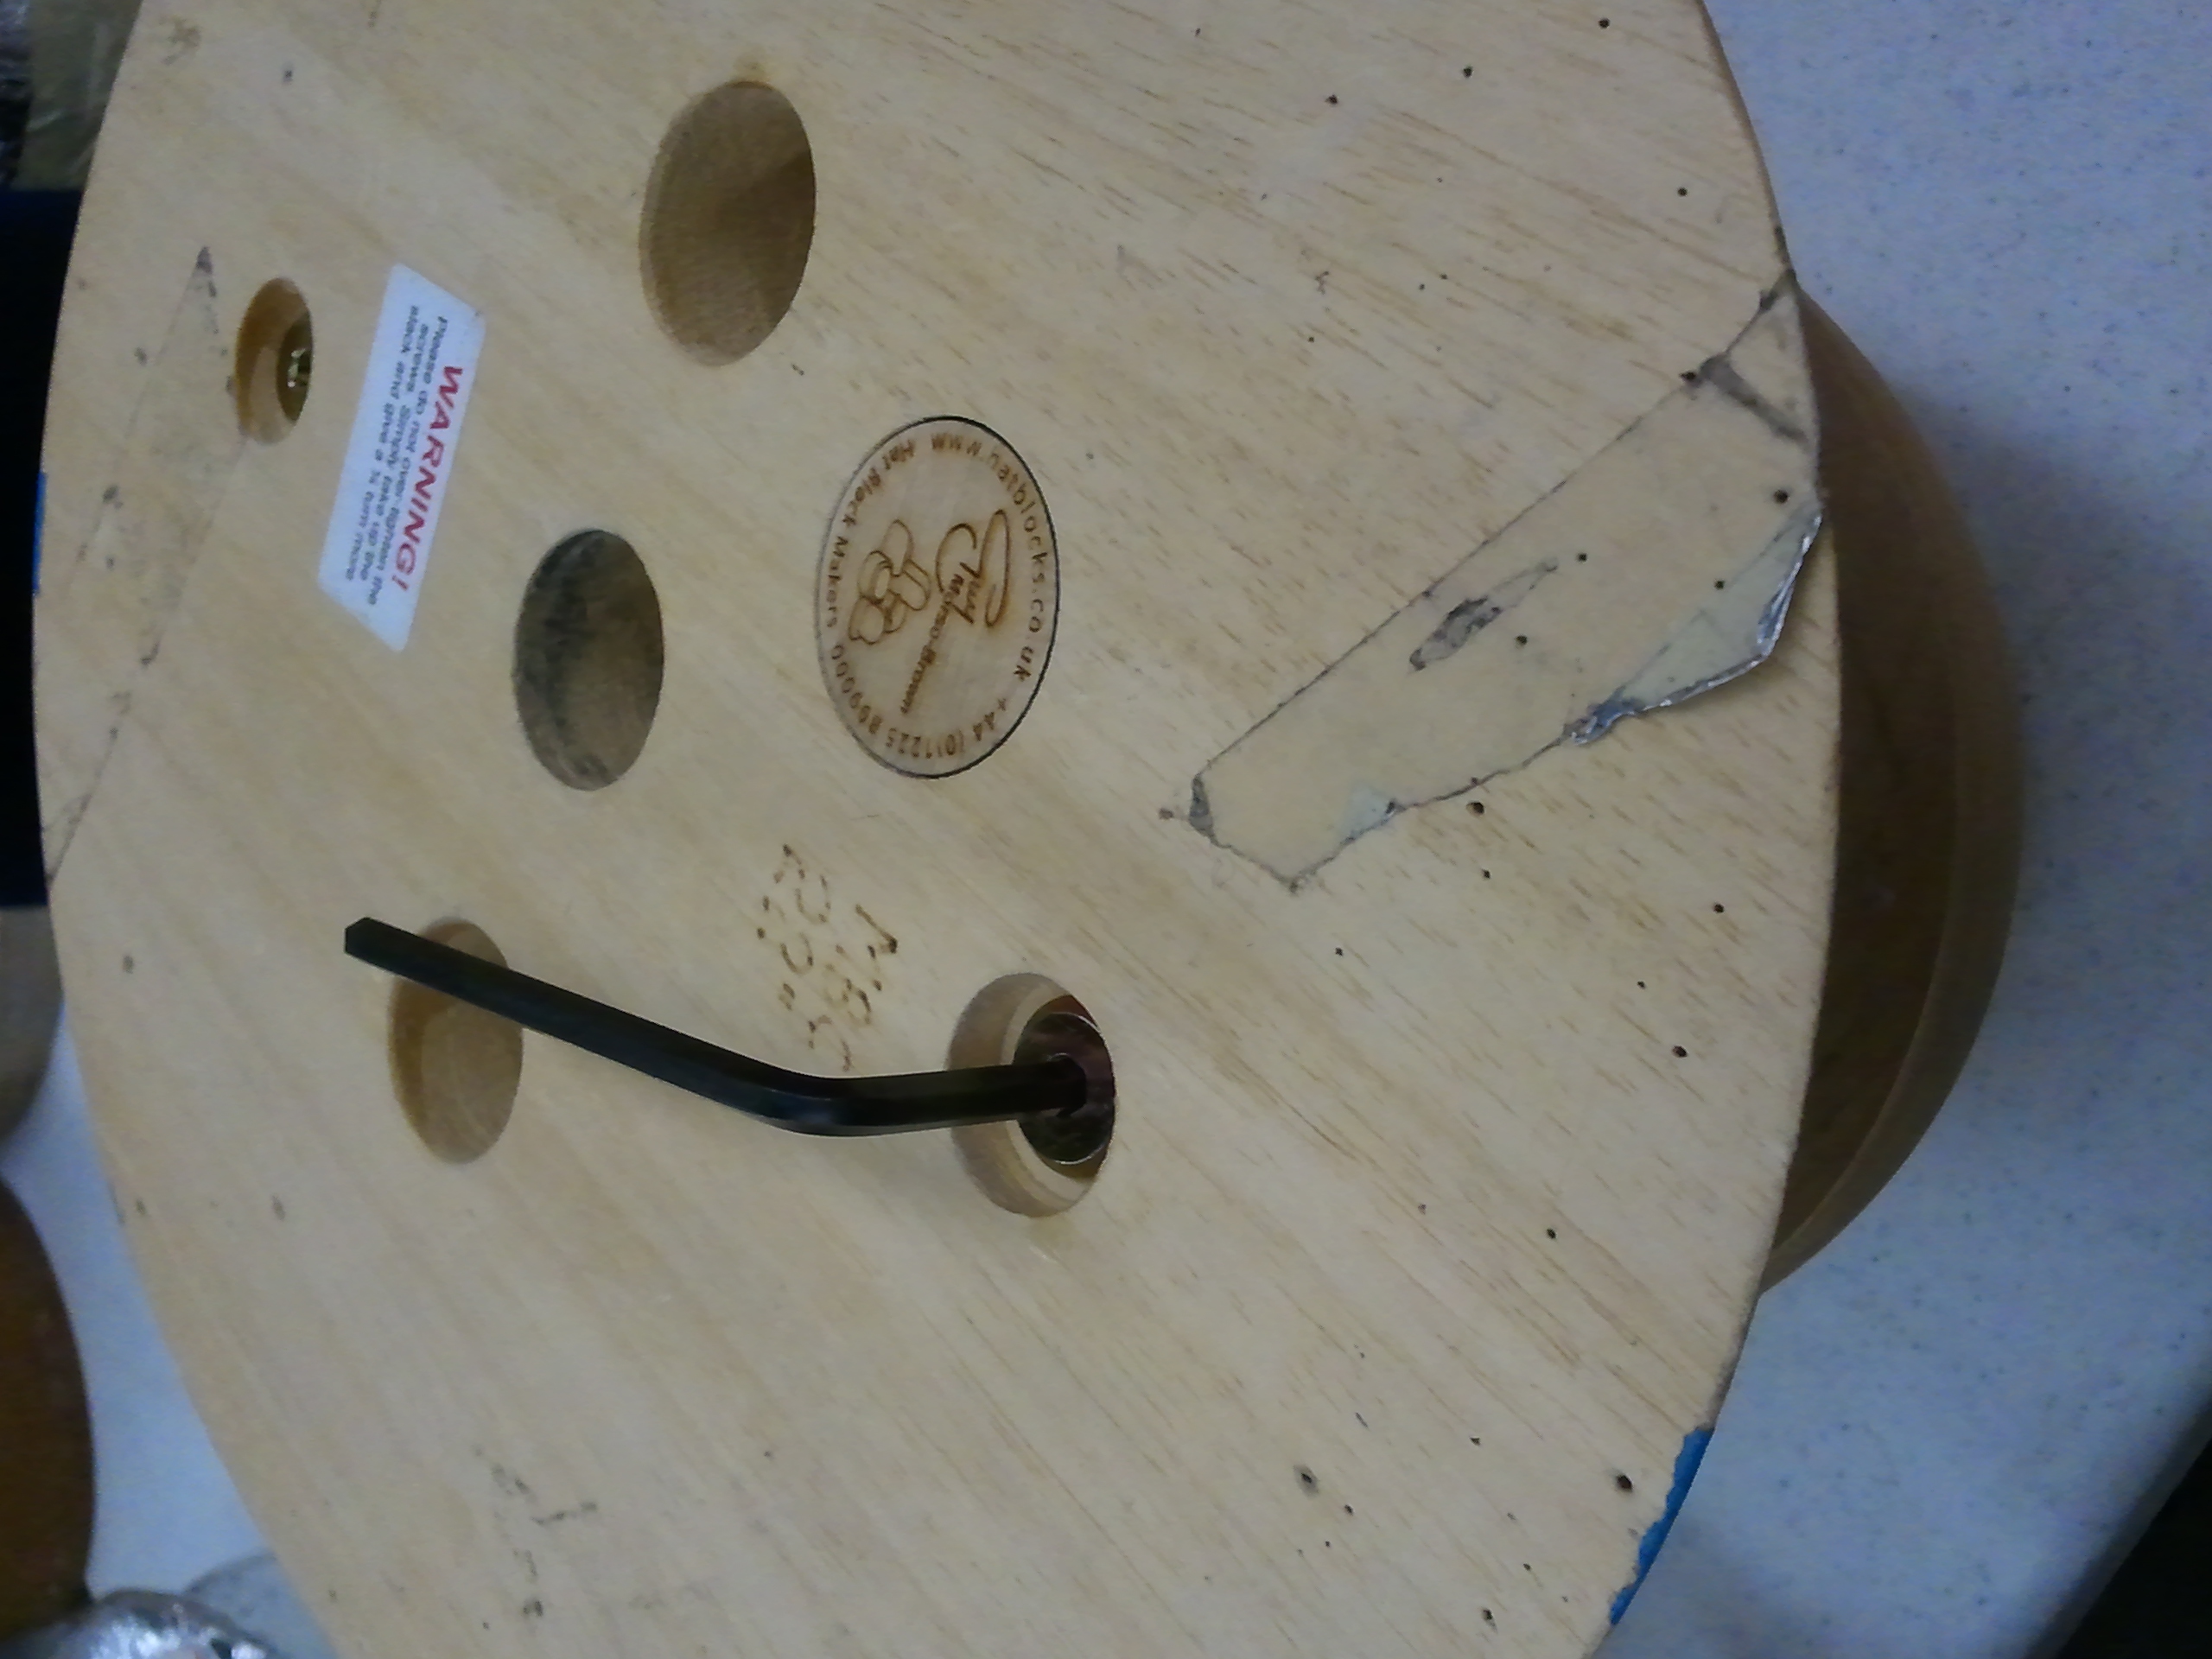
Assembling that Billy bookcase prepared me for this moment!
Once the block was assembled, I covered it with aluminum foil. Some folks prefer plastic wrap, but our instructor said she has found plastic wrap to be easier, and my instinct is to agree. I know that when I use plastic wrap, I tend to get it stuck to everything but the bowl I’m trying to cover. So, aluminum foil. The key is to get it super smooth, so one doesn’t wind up with weird lumps in their hat. Then, I took my felt to get it ready for blocking. Millinery felt comes in a vague hat shape. Either a hood, which is what I used for this hat, or a cape, which is used for a larger brimmed hat. This felt needs to be shaped so that it looks like a fedora, or cloche, or pointy witch hat, or what-have-you. This involves hot water, and/or steam. It was a little weird to douse this lovely piece of hattish felt in hot water and beat it up, but I did so, trusting my instructor whom I hoped had been vetted by the textile center that hosted the class. I then brought it to my block, and began stretching. One of the keys is to not stretch areas too much, or you wind up with a hole. So I carefully arranged my felt.
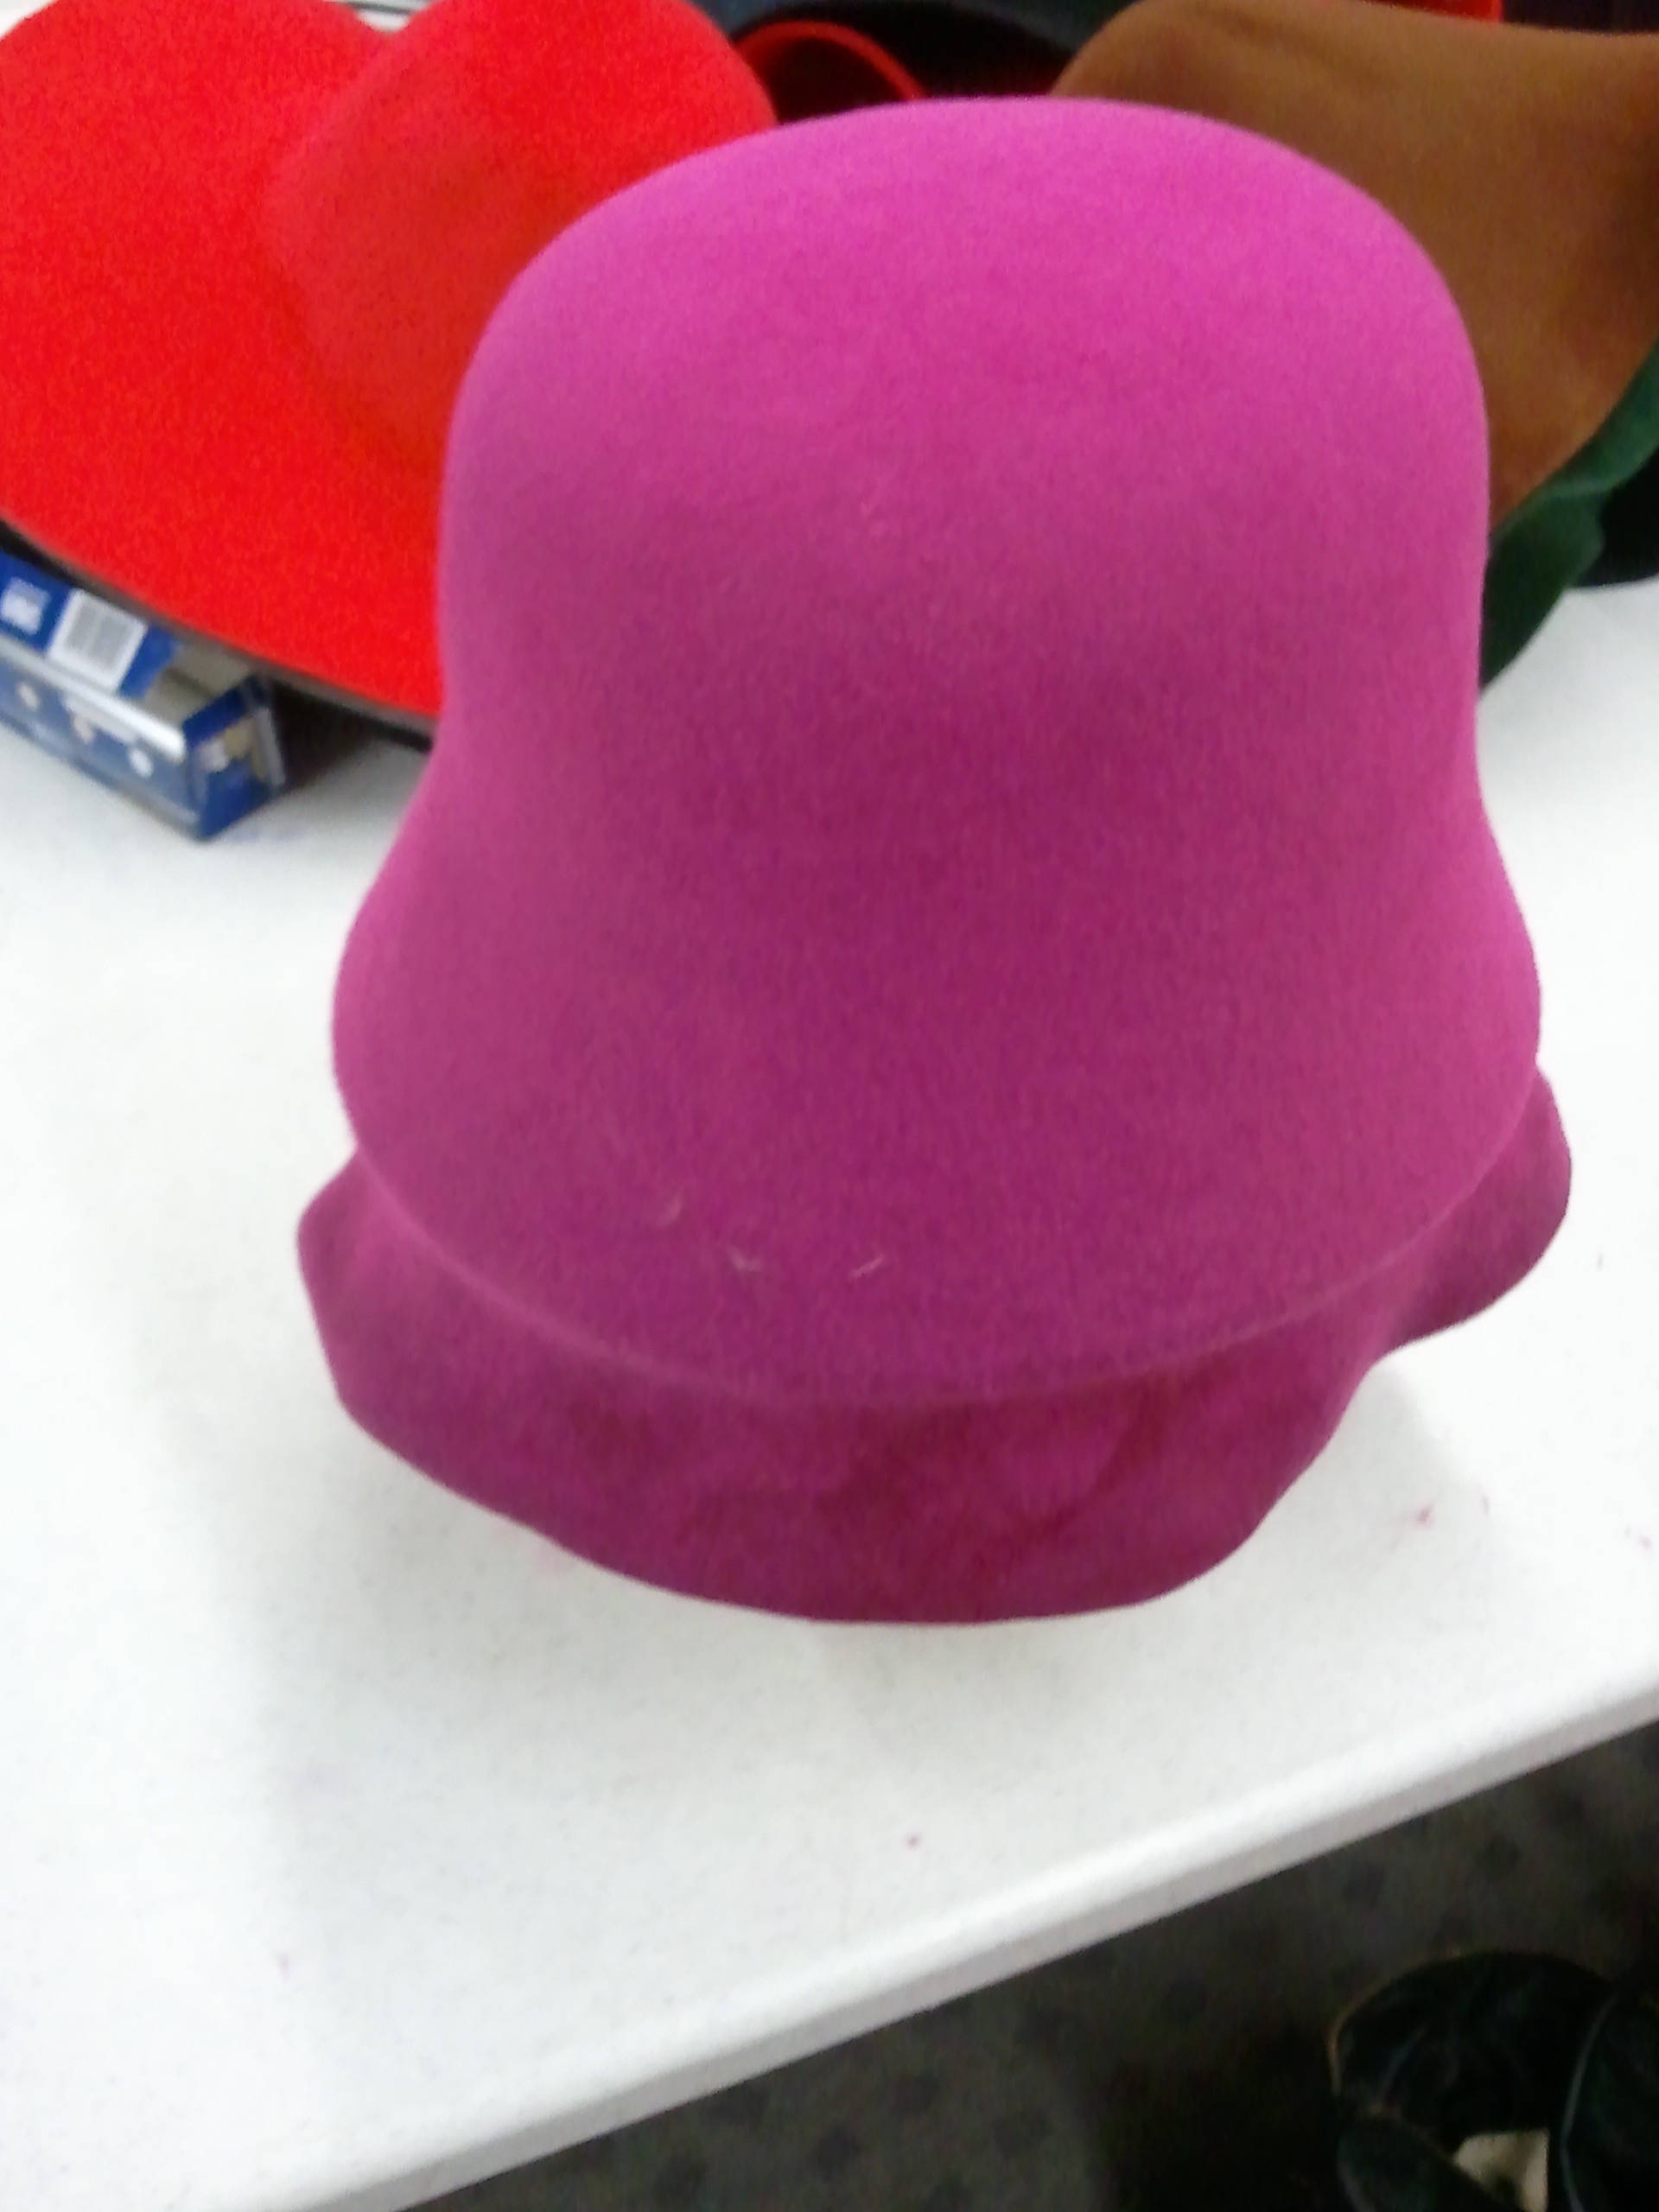
Starting to look more like a hat!
It was beginning to look like a hat! Mind. Blown. I shaped it a bit more, then it was time to dry it.
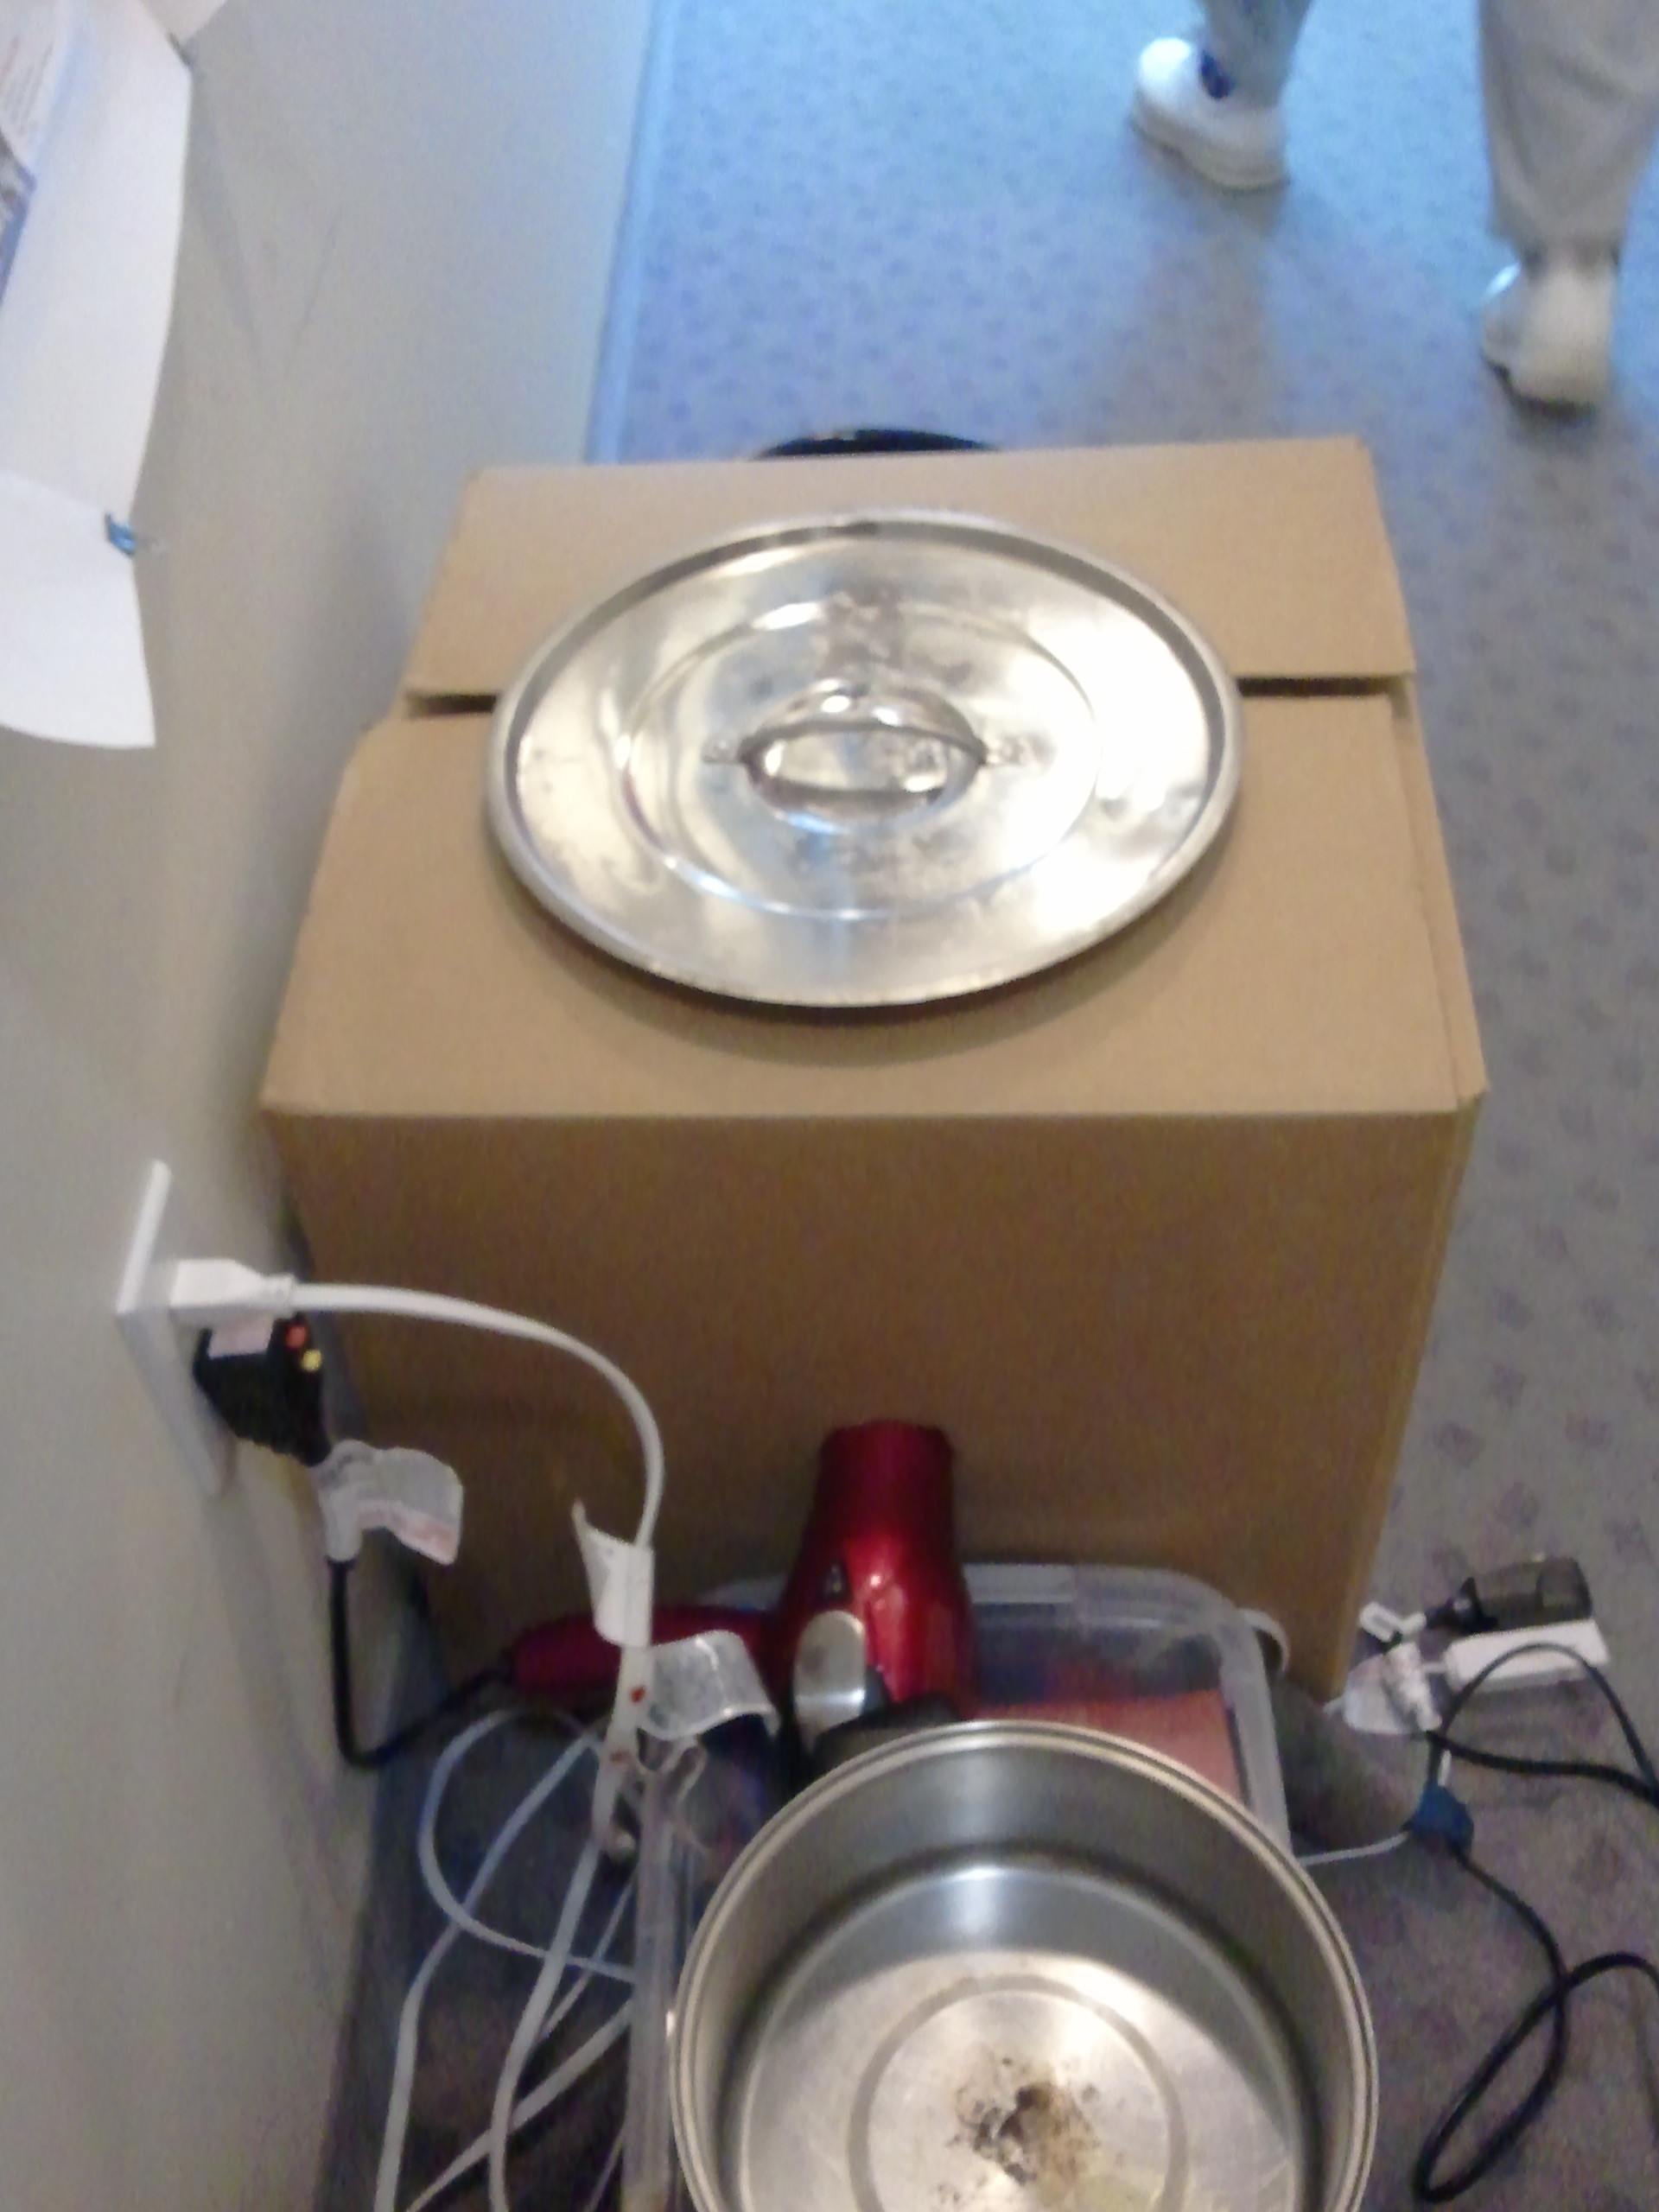
I was assured this was safe.
Basically, we fashioned hat dryers out of large moving boxes outfitted with hair dryers, and, in some cases, we also fashioned stands and weights to keep the tops closed. This was another point at which I trusted the instructor. I mean, I assumed she had done this before and had lived to tell the tale.
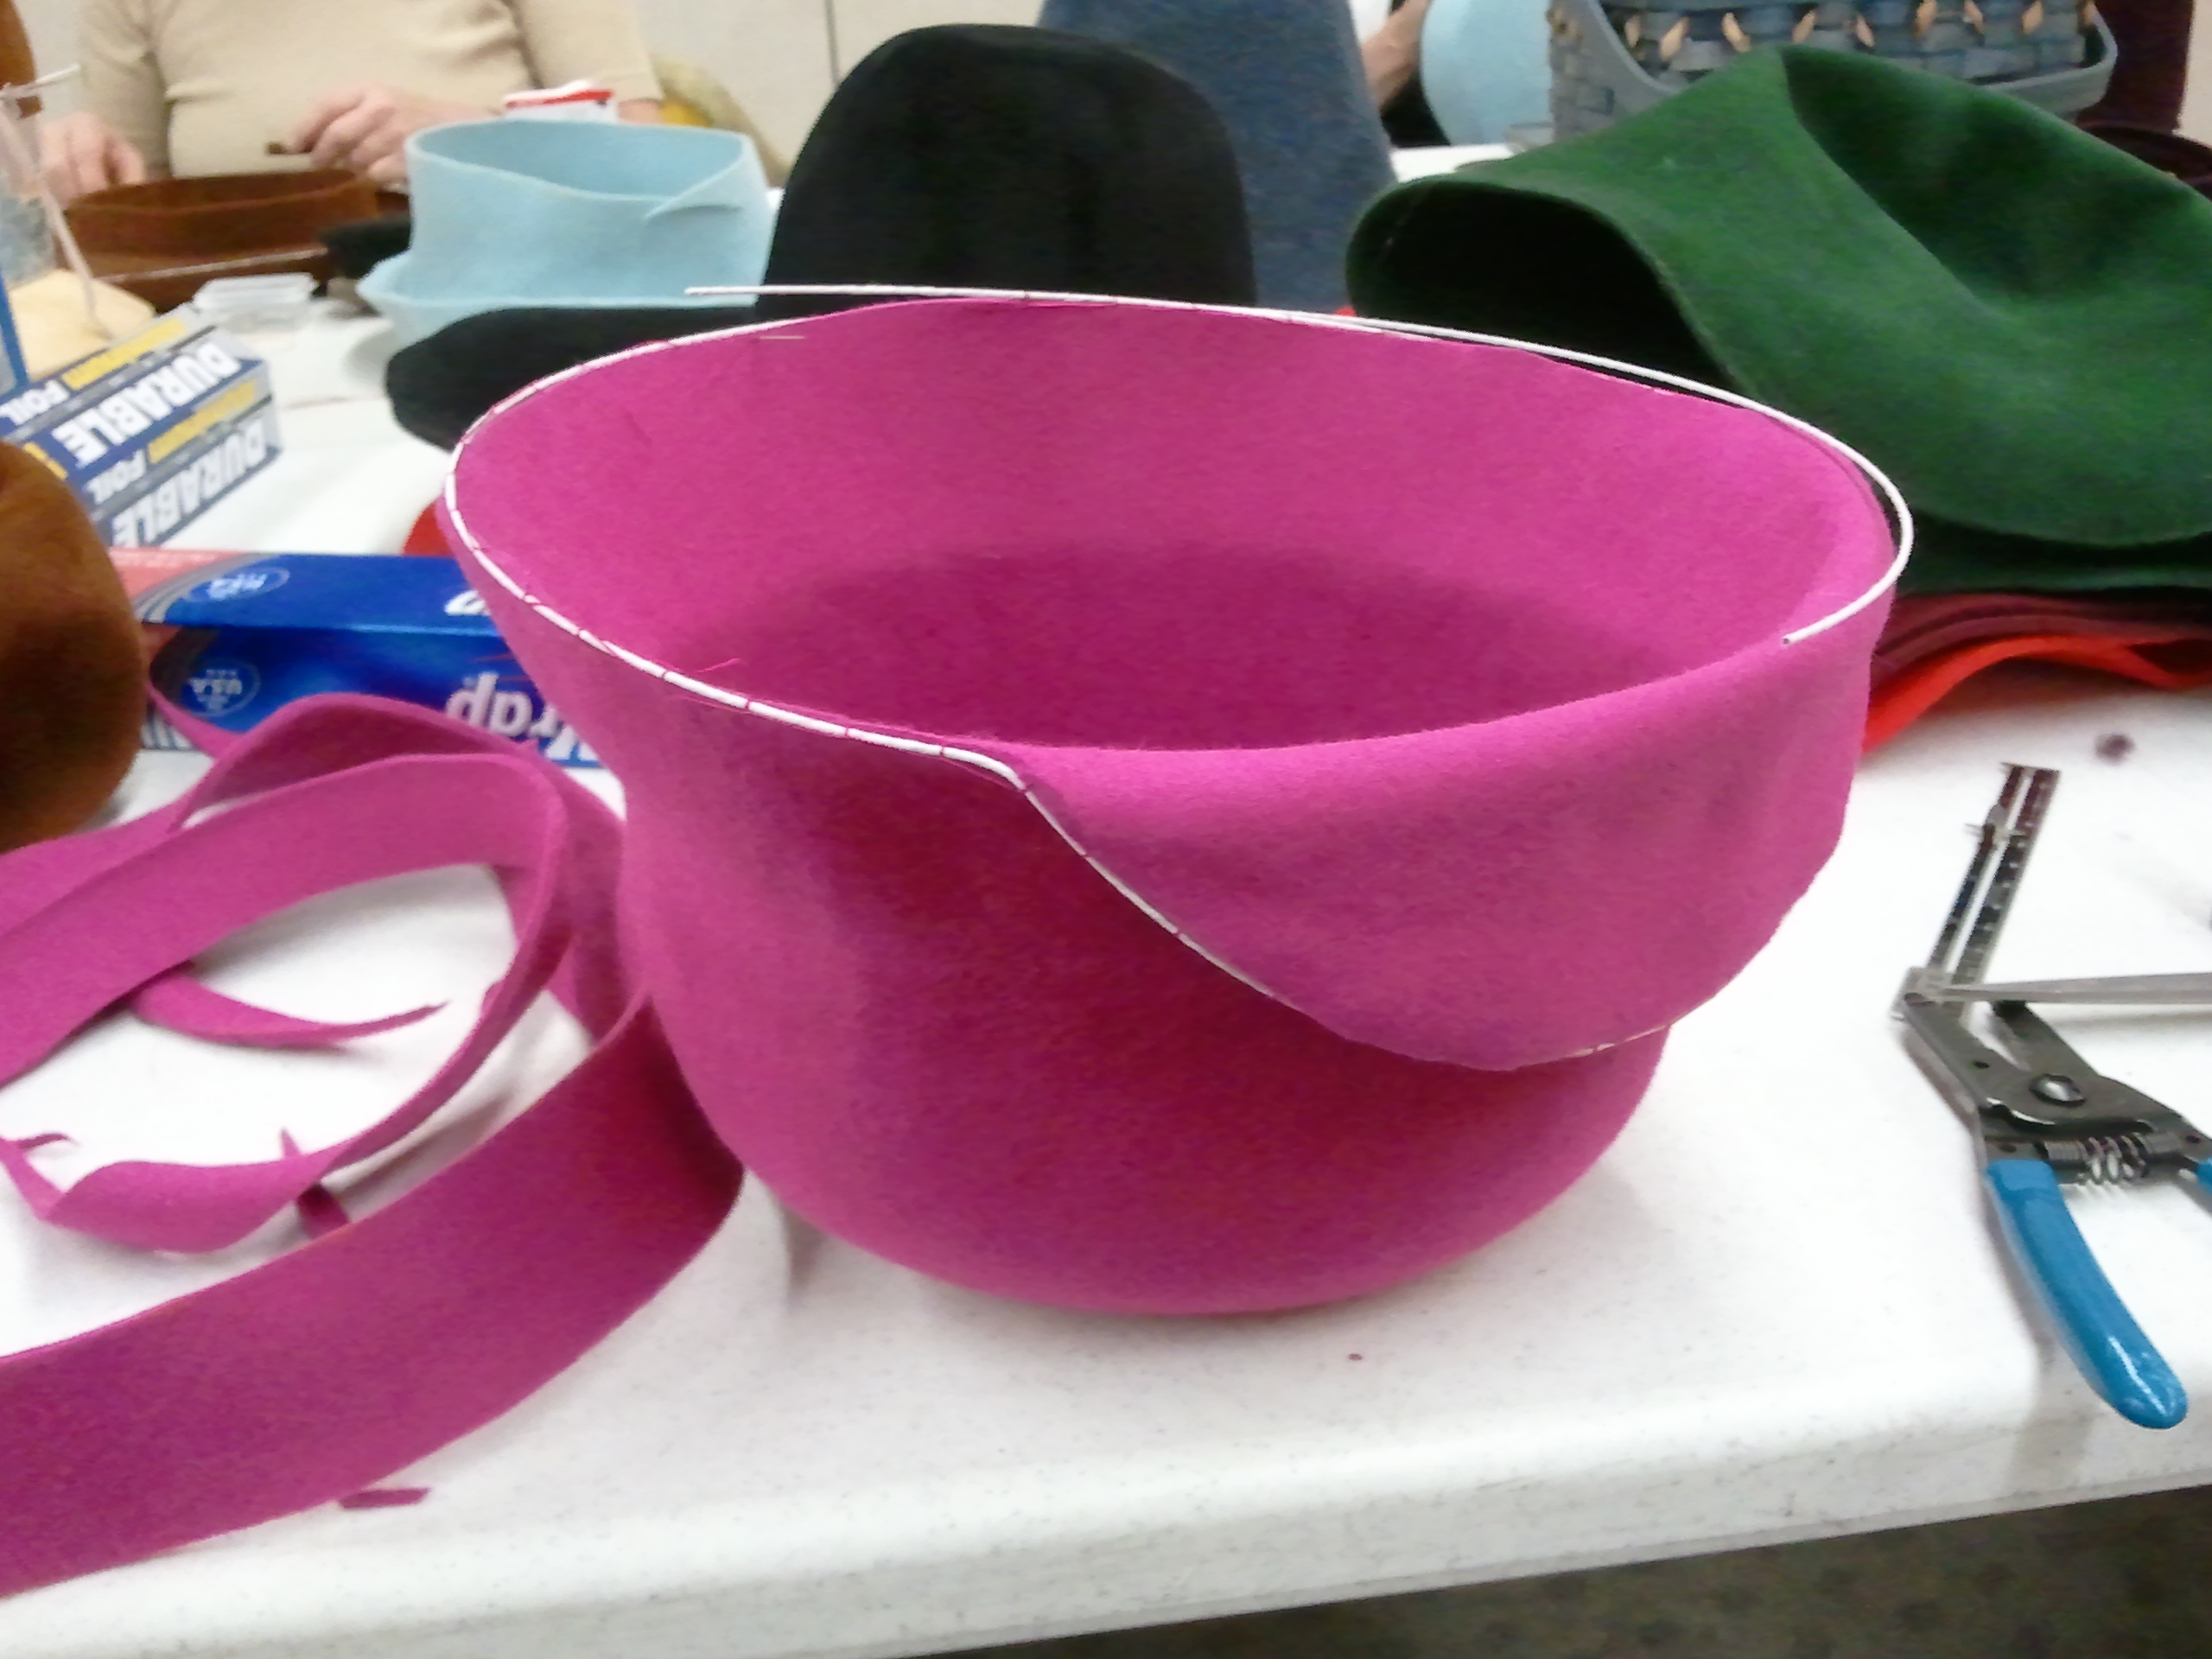
It takes a bit for the hat to dry and set, so we went to grab some eats and chat and whatnot, and came back. Despite a hiccup and the hair dryer trying to prove it was smarter than I and shutting off because of being too hot or something, it wasn’t much after lunch that I was ready for phase two. The phase where I had to take a deep breath and NOT PANIC. Taking the hat off the block and CUTTING the brim into shape. In hindsight, I should have trimmed less off the downturned part and more off the upturned, but it still came out okay. To prevent too much cutting regret, I measured and marked out what I planned to cut, did some cutting, and then did a bit of trimming. When I got to the point that the cutting was just going to end badly unless I put the scissors down, I headed to the next step, which is optional in some cases, but necessary in this one. Adding wire. There is special fancy wire for hats, and I got a piece, and went to town stitching it along the edge of my hat’s brim. Most of the construction of a hat is done by hand, including the stitching. In the case of the wire, the stitches wind up covered so they don’t have to be perfect. However, it’s nice to keep everything neat and tidy, so it still takes a while.
Next, that wire has to get covered. There are different ways of doing it, I went with ribbon. Because of all the curves involved in a hat, one can’t just use any old ribbon they can get their hands on. Petersham is ideal. It’s easy to confuse this ribbon with grosgrain, but it is not the same! Grosgrain has a straight edge, while petersham has a toothed edge that means you can manipulate it much like you can manipulate bias tape into curves. I chose black, pressed it into shape, and went to town hand stitching it over the wire. Tedious, yet calming. In this step, it’s more important to make sure the stitches are neat and even, so it takes a bit. It was much like hemming a wee skirt.
Once the basic trim was done, the inside of the crown was brushed with lacquer, and I left it overnight….
Come back tomorrow for the rest of the action!!
I was there…wait ’till you get a load of the confection/creation.